

A Bite-Sized Delight That Stole Our Hearts
Table of Contents
Have you ever walked into a party and been immediately drawn to the smell of warm, garlicky bread paired with savory Italian lunch meats? If so, you’ve likely encountered the humble yet irresistible Italian slider. This tiny sandwich packs a big flavor punch, making it a crowd favorite at any gathering. Whether you’re hosting a game day, planning a family dinner, or simply craving something delicious for lunch, mastering the art of the Italian sliders recipe is a skill worth having.
But here’s the thing—many people shy away from making Italian sliders at home because they think it’s complicated or time-consuming. The truth? It doesn’t have to be! With just six simple steps, you can create restaurant-quality sliders in your kitchen. In this article, we’ll break down everything you need to know about crafting the perfect Italian sliders recipe, complete with actionable tips and tricks to ensure success every single time. By the end, you’ll not only understand how to make these delightful sandwiches but also feel confident enough to experiment with your variations.
So grab your apron and let’s dive in!
Step 1: Choose Your Bread Wisely
The foundation of any great Italian slider lies in its bread. Opt for a soft, crusty loaf like ciabatta or French bread—it holds up well under layers of filling while still maintaining that melt-in-your-mouth texture. Here are some key considerations:
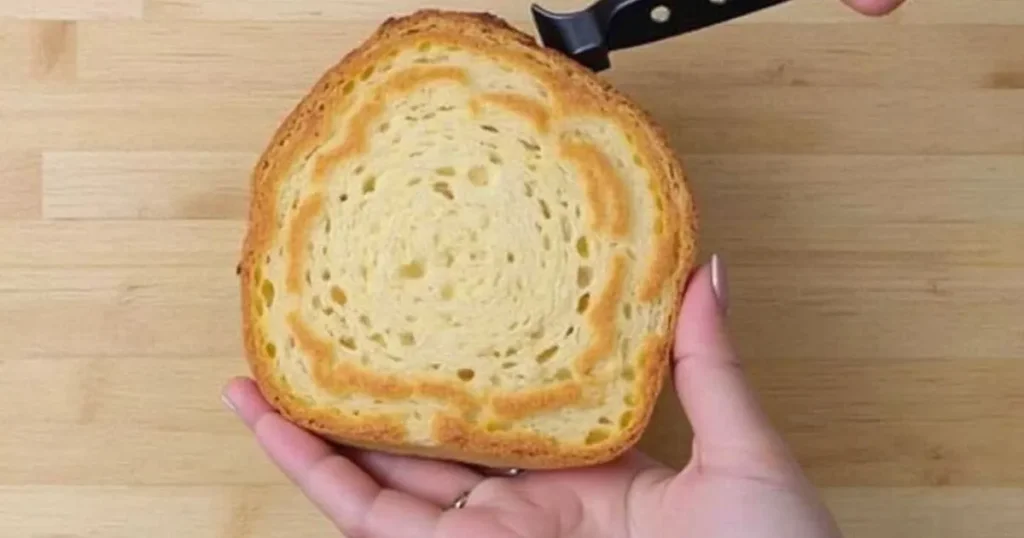
- Size Matters: Look for a loaf that’s pre-sliced into individual portions or one that’s easy to cut yourself. Each slice should be roughly 2-3 inches wide.
- Flavor Boosters: Consider adding herbs like rosemary or garlic-infused oil to the bread before assembling your sliders. This adds an extra layer of taste without much effort.
Pro Tip: Toast the bread lightly before assembly to give it a crispy exterior.
Step 2: Select High-Quality Italian Lunch Meats
One of the defining features of Italian sliders is the variety of cured meats used. When choosing your ingredients, go for high-quality options to elevate the overall experience. Popular choices include:

- Prosciutto: Thinly sliced ham with a delicate, salty flavor.
- Capicola: Spicy or mild, depending on your preference.
- Salami: Adds richness and depth to each bite.
For added convenience, many grocery stores sell pre-packaged assortments of Italian lunch meats. Just remember to balance flavors—too much spice can overpower the other components.
Step 3: Layer Like a Pro
Once your bread and meats are ready, it’s time to assemble the sliders. Proper layering ensures an even distribution of flavors and textures. Follow these guidelines:
- Spread a thin layer of mayonnaise or pesto sauce on the bottom half of the bread for moisture.
- Add a piece of provolone cheese for creaminess and richness.
- Place your chosen lunch meats neatly on top of the cheese.
- Top with fresh vegetables like lettuce, tomato slices, and red onion for crunch and freshness.
- Finish with another slice of cheese if desired, then close the slider with the top half of the bread.
Step 4: Add Sauce for Extra Flavor
A good sauce can take your Italian sliders recipe from good to unforgettable. There are several options to choose from:
- Marinara Sauce: Classic and versatile, perfect for dipping or brushing onto the bread.
- Giardiniera Relish: A tangy mixture of pickled vegetables that complements the meats beautifully.
- Oil and Vinegar Mixture: Drizzle a blend of olive oil, balsamic vinegar, and spices over the assembled sliders for enhanced flavor.
Feel free to mix and match sauces based on your personal preferences.
Step 5: Bake Until Golden Perfection
To achieve that signature gooey, melty goodness, bake your sliders in the oven. Preheat to 350°F (175°C) and follow these steps:
- Wrap the entire loaf in aluminum foil to prevent burning.
- Bake for 10-15 minutes until the cheese has melted and the bread is toasted.
- Remove the foil during the last few minutes for a golden-brown finish.
Alternatively, use a broiler for quicker results, keeping a close eye to avoid overcooking.
Step 6: Serve and Enjoy
Your Italian sliders are now ready to impress! Slice them apart and arrange them on a platter for easy serving. Pair with sides like potato chips, coleslaw, or a fresh salad for a complete meal. Don’t forget napkins—they’re bound to get messy in all the best ways!
FAQs About Italian Sliders Recipe
Q: Can I freeze leftover Italian sliders?
A: Absolutely! Allow the sliders to cool completely, wrap them tightly in plastic wrap, and store them in an airtight container. They’ll keep for up to three months in the freezer. Reheat in the oven or microwave as needed.
Q: What if I don’t like certain types of meat?
A: Customize your sliders to suit your tastes! Swap out less-favorite meats for alternatives like roasted chicken, turkey, or even plant-based options.
Q: Is there a vegetarian version of this recipe?
A: Yes! Replace the meats with grilled eggplant, zucchini, or portobello mushrooms. Use vegan cheese and add plenty of veggies for texture.
Q: How far ahead can I prepare these sliders?
A: Assemble the sliders up to a day in advance and refrigerate them. However, avoid baking until just before serving to maintain freshness.
Conclusion: Let’s Get Cooking!
There you have it—a foolproof Italian sliders recipe made easy with six straightforward steps. From selecting the right bread to baking to perfection, creating these mini masterpieces is simpler than you might think. Plus, with endless customization possibilities, you can tailor them to fit your unique palate.
Now that you’ve got the tools and knowledge, why not try making a batch tonight? Whether you’re feeding a crowd or treating yourself, these sliders promise to deliver big on flavor. Once you’ve tried our tips, share your thoughts in the comments below—we’d love to hear how they turned out! And don’t forget to bookmark this page for future reference. Happy cooking!
More Tasty Treats to Try Next.
Share your rating and review with us!
There are no reviews yet. Be the first one to write one.
recommend


